How to Create a Stunning Outdoor Grill Area DIY on a Budget
Dreaming of a beautiful outdoor cooking space but worried about the cost? You’re not alone. Creating an outdoor grill area doesn’t have to drain your bank account. With some creativity, smart planning, and a weekend or two of work, you can build a functional and stylish outdoor grill area that will be the envy of your neighborhood—all while keeping your budget intact.
In this guide, I’ll walk you through everything you need to know about creating an affordable outdoor cooking space that looks like it cost thousands. From planning and material selection to construction tips and finishing touches, you’ll discover how to transform your backyard into a grilling paradise without breaking the bank.
Planning Your Budget-Friendly Outdoor Grill Area
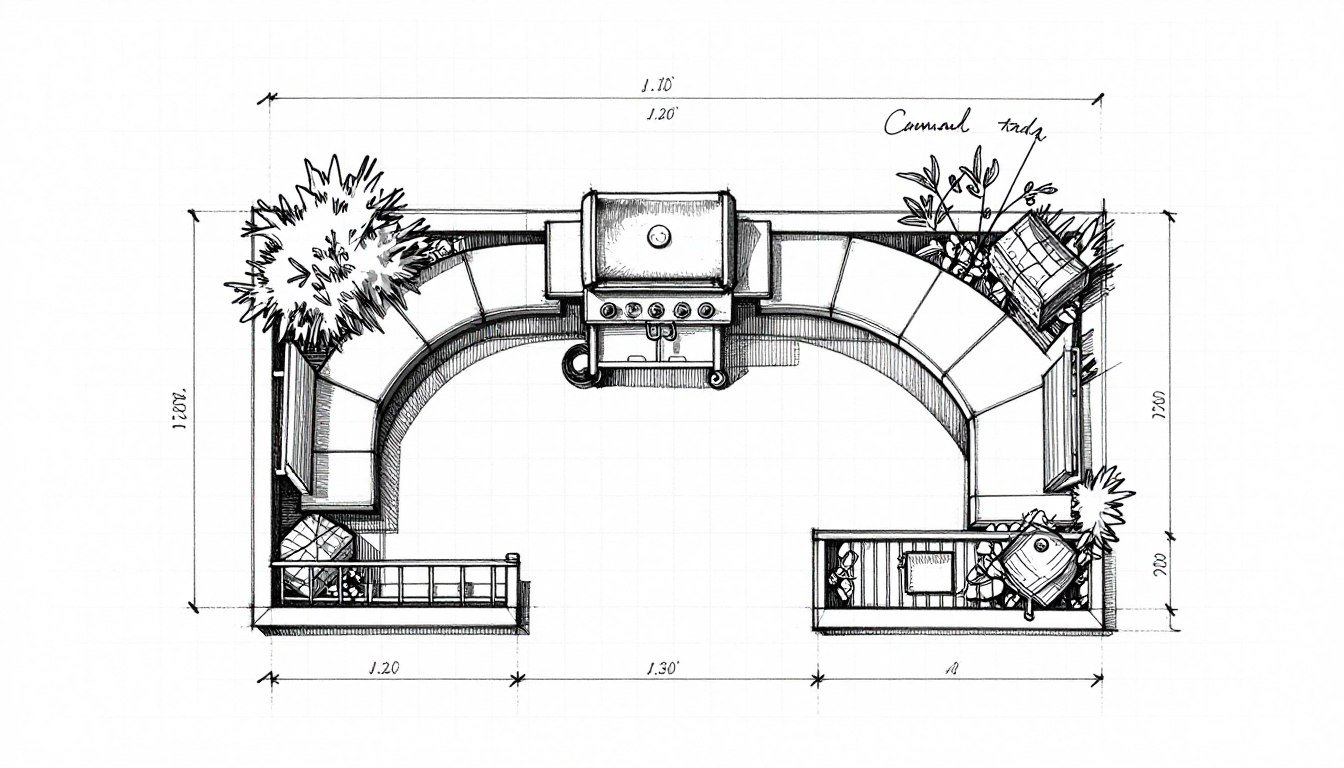
Planning your layout is the crucial first step to creating a budget-friendly outdoor grill area
Before grabbing your tools, take time to plan your outdoor grill area carefully. A well-thought-out design will save you money by preventing costly mistakes and ensuring you purchase only what you need.
Assess Your Space and Needs
Start by measuring your available space and thinking about how you’ll use your outdoor cooking area. Do you need just a basic grill station, or are you hoping for counter space, storage, and maybe even a small sink? Understanding your needs will help you prioritize your budget.
Create a Realistic Budget
Determine how much you can comfortably spend on your project. A basic DIY outdoor grill area can cost anywhere from $300 to $1,500 depending on materials and complexity. Break down your budget into categories: structure, grill, countertops, and finishing touches.
For budget-conscious builds, simpler is better. Consider these cost-effective layouts:
Straight-line layout: The most economical and space-efficient design
L-shaped setup: Offers more prep space while keeping costs reasonable
Island design: Can be built using affordable materials like cinder blocks
Remember that functionality should come first. Focus on creating enough space for your grill and at least some prep area before adding extras.
Budget-Friendly Materials for Your Outdoor Grill Area
The materials you choose will have the biggest impact on your budget. Fortunately, there are plenty of affordable options that still look great and stand up to outdoor conditions.
Structural Materials
These budget-friendly options work well for the frame of your grill station:
Concrete Blocks/Cinder Blocks
At around $2-3 per block, these are incredibly affordable and naturally fire-resistant. Stack them in patterns to create a sturdy base for your grill area. You can find these at any home improvement store or browse options online.
Wooden Pallets
Often available for free from local businesses, pallets can be disassembled and repurposed for framing, storage, or decorative elements. Just make sure to use heat-resistant materials around the actual grill. Look for pallets marked “HT” (heat-treated) rather than “MB” (methyl bromide).
Pressure-Treated Lumber
While not as cheap as pallets, pressure-treated wood is still affordable and perfect for building the frame of your grill station. Just be sure to protect it from direct heat with cement board or stone. You can find quality options here.
Reclaimed Brick or Stone
Check local classified ads, demolition sites, or community groups for free or low-cost reclaimed brick and stone. These materials add character and are naturally heat-resistant.
Countertop Options
Your work surface needs to be durable and heat-resistant, but that doesn’t mean expensive:
Concrete
For around $5 per square foot, you can create a durable, heat-resistant countertop by pouring concrete into a simple form. Add color pigments for a custom look. Find concrete countertop supplies here.
Tile
Ceramic or porcelain tile is affordable, heat-resistant, and comes in countless styles. Look for clearance tiles or remnants for extra savings. You’ll need cement board underneath for outdoor durability.
Paver Stones
Large, flat pavers can be mortared together to create an attractive, durable countertop for a fraction of the cost of stone slabs.
Sealed Wood
For areas away from direct heat, sealed wood can be an economical choice. Use multiple coats of outdoor sealant for durability.
Grill Options
The centerpiece of your outdoor cooking area deserves careful consideration:
Use your existing grill to save money
Look for end-of-season sales for significant discounts
Consider a charcoal grill, which is typically less expensive than gas models
Check online marketplaces for used grills in good condition
Now that you’ve planned your layout and gathered materials, it’s time to build your budget-friendly outdoor grill area. Here’s a simplified process that even beginners can follow:
1. Prepare the Site
Start with a level surface. If building on grass, remove the sod and add a layer of gravel for drainage. For a patio or concrete pad, ensure it’s clean and level. This foundation is crucial for stability and longevity.
2. Build the Frame
Using your chosen structural materials, build the frame according to your design plan:
For Cinder Block Construction:
Lay out the first course of blocks according to your plan
Use construction adhesive between courses for stability
Create openings for storage or your grill as needed
Consider adding rebar through blocks for additional strength
For Wood Frame Construction:
Build a basic frame using pressure-treated 2x4s
Add cross supports for stability
Cover with cement board to create a fire-resistant surface
Use cement board screws designed for outdoor use
For cement board installation, you’ll need specialized screws that won’t corrode. Find the right screws here.
3. Install Your Countertop
Once your frame is complete, it’s time to add your work surface:
For Concrete Countertops:
Build a form with melamine-coated particle board
Mix concrete according to package directions
Pour into the form and smooth the surface
Allow to cure for at least 48 hours before removing the form
Seal with concrete sealer for outdoor durability
For Tile Countertops:
Install cement board as a base
Apply thinset mortar with a notched trowel
Lay tiles in your desired pattern
Allow to set, then apply grout
Seal grout lines for outdoor durability
4. Install Your Grill
Depending on your design, you might:
Create a cutout in your countertop for a drop-in grill
Build a platform at the right height for your existing grill
Leave space to slide a freestanding grill into place
For safety, ensure there’s adequate clearance around your grill according to the manufacturer’s specifications.
5. Add Finishing Touches
Complete your budget-friendly outdoor grill area with these final steps:
Add heat shields near the grill if using wood construction
Install simple storage solutions like hooks or shelves
Apply weather-resistant sealants to all appropriate surfaces
Add decorative elements that match your outdoor décor
Smart Storage Solutions on a Budget
Every good cooking space needs storage, but that doesn’t mean expensive cabinets. Try these budget-friendly ideas:
Repurposed Containers
Metal buckets, terracotta pots, or even old ammo boxes can become weather-resistant storage for grilling tools and supplies. Add a coat of heat-resistant paint to match your design.
Simple Shelving
Add cement board or pressure-treated wood shelves inside your grill station frame. These provide convenient storage without additional cost.
Plants add life and color to your outdoor cooking area:
Grow herbs in inexpensive containers for both beauty and function
Use heat-tolerant plants near your grill area
Repurpose tin cans as planters for an industrial look
Decorative Elements
Small touches make a big difference:
Paint cinder blocks in coordinating colors
Add a simple backsplash with leftover tile
Use weather-resistant fabric for simple curtains or cushions
Incorporate outdoor-safe artwork or signs
Safety Considerations for DIY Grill Areas
Safety should never be compromised, even on a budget. Keep these important considerations in mind:
Fire Safety
Maintain at least 10 feet of clearance between your grill and any combustible structures
Use fire-resistant materials like cement board, stone, or brick near the grill
Install heat shields if using wood in your construction
Keep a fire extinguisher nearby
Structural Stability
Ensure your DIY grill station is sturdy and level to prevent accidents. Use construction adhesive between cinder blocks and consider adding rebar for additional support in taller structures.
Weather Protection
Apply appropriate sealants to protect your materials from the elements. Consider how you’ll cover your grill area during severe weather or the off-season. Find affordable grill covers here.
Budget-Friendly Outdoor Grill Area Inspiration
Need some inspiration? Here are a few budget-friendly outdoor grill area ideas that prove you don’t need to spend a fortune to create something beautiful:
Rustic Pallet Grill Station
Using reclaimed pallets and simple concrete countertops, this design costs under $200 and features built-in tool storage and a drop-in charcoal grill.
Modern Cinder Block Island
Stacked cinder blocks in an alternating pattern create a contemporary look for around $300, including a tiled countertop and space for a freestanding grill.
Minimalist Cooking Counter
A simple pressure-treated frame with cement board and a concrete countertop provides just enough space for grilling and prep for under $150.
Remember that your outdoor grill area can evolve over time. Start with the basics and add features as your budget allows. Many DIYers begin with just a simple grill station and gradually add countertop space, storage, and decorative elements.
Ready to Build Your Budget-Friendly Outdoor Grill Area?
Creating a beautiful outdoor grill area doesn’t require professional help or thousands of dollars. With some planning, creativity, and elbow grease, you can build a functional and attractive cooking space that enhances your outdoor living area and provides years of enjoyment.
Start by gathering your materials, many of which might be available for free or at low cost. Take your time with the building process, focusing on safety and durability. Then add your personal touch with budget-friendly decorative elements that reflect your style.
Start Your Outdoor Grill Project Today!
Gather your supplies, make your plans, and transform your backyard this weekend. Your budget-friendly DIY outdoor grill area is just a project away!
Remember, the most important ingredient in any DIY project is your creativity. Use these ideas as inspiration, but don’t be afraid to adapt them to your specific needs, space, and budget. Happy building!
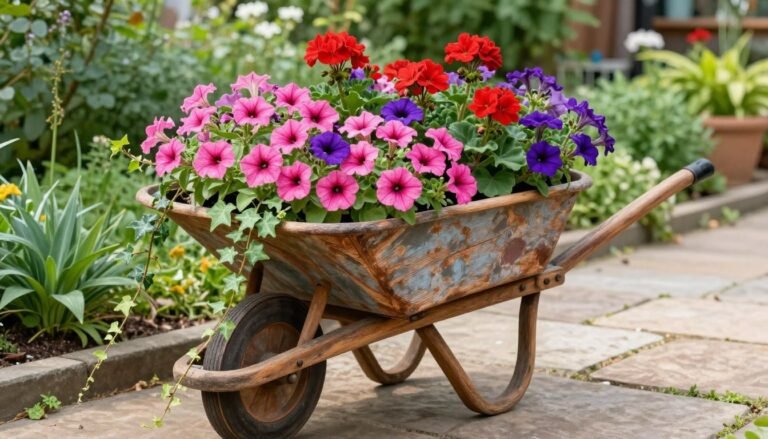
There’s something undeniably charming about a weathered wheelbarrow overflowing with vibrant blooms. These rustic garden features combine the appeal of vintage charm with practical container gardening, creating a focal point that tells a story in your outdoor space. Whether you’ve discovered an old wheelbarrow gathering dust in your shed or you’re hunting for one at…
For over 70 years, Adidas has revolutionized athletic footwear with its commitment to innovation, style, and performance. From the iconic three stripes to groundbreaking technologies like Boost cushioning, Adidas shoes have become staples in both athletic performance and street fashion. Whether you’re searching for the perfect running companion, a stylish everyday sneaker, or a statement…
Choosing the perfect country wedding guest outfit can feel overwhelming. You want to honor the rustic theme without sacrificing style or comfort. Country weddings blend formal celebration with relaxed, natural settings. This creates a unique dress code challenge. Traditional wedding attire meets countryside charm. Understanding this balance helps you dress appropriately for the event. The…
Solar lights have revolutionized outdoor lighting, offering an eco-friendly way to illuminate your garden, patio, and walkways without increasing your energy bills. These versatile lights harness the power of the sun during the day and automatically illuminate your outdoor space at night, creating a magical ambiance that enhances both the beauty and functionality of your…
Your birthday is a time to celebrate yourself and feel absolutely amazing. The right hairstyle can transform your entire look and boost your confidence throughout the day. Whether you’re planning an intimate dinner or a big party, your hair should make you feel like the star you are. Choosing the perfect birthday hairstyle depends on…
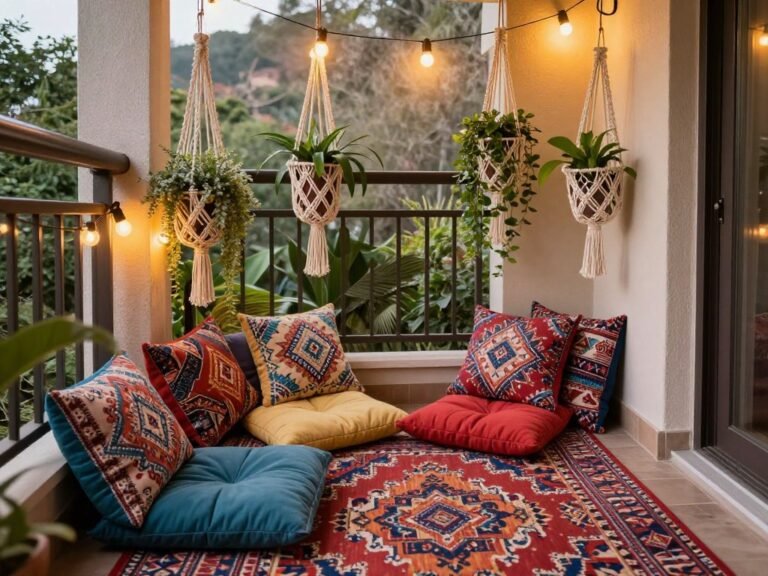
Your balcony is more than just an architectural feature—it’s an opportunity to create a personal retreat that reflects your style and enhances your living space. Whether you have a spacious terrace or a tiny apartment balcony, the right decor can transform this outdoor area into your favorite spot at home. From cozy reading nooks to…