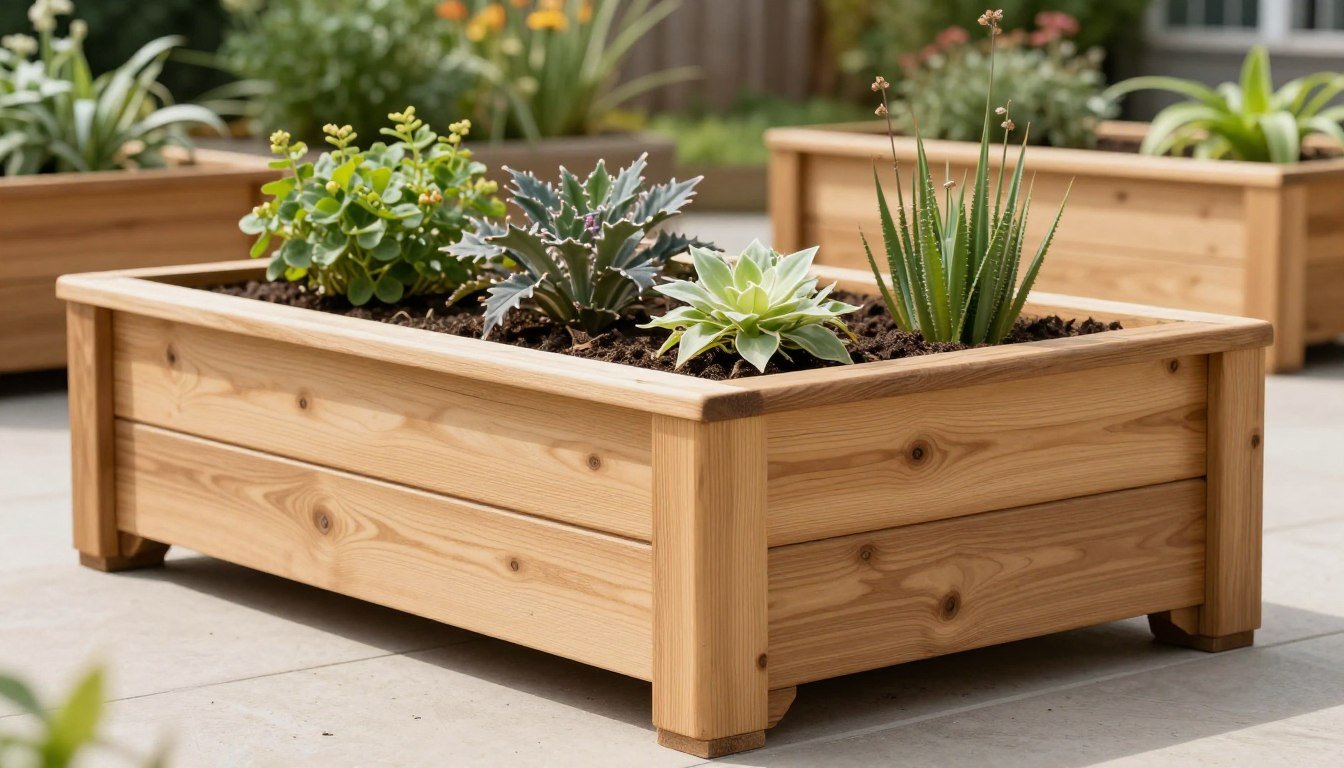
DIY Planter Boxes: Build Beautiful Garden Boxes on a Budget
Transform your outdoor space with custom DIY planter boxes that are both beautiful and budget-friendly. Whether you’re looking to grow vegetables, herbs, or flowers, these easy-to-build wooden planters will elevate your garden while saving you money. No advanced carpentry skills required – just basic tools and materials to create durable, attractive planter boxes that will last for years.
This Website contains affiliate links. That means I may earn a small commission if you purchase through my links, at no extra cost to you.
Materials and Tools You’ll Need
Before you begin your DIY planter boxes project, gather all the necessary materials and tools. The beauty of this project is that you can customize the size to fit your space perfectly.
Materials List:
Cedar fence pickets (1×6 inch) or cedar boards – cedar is naturally rot-resistant and perfect for outdoor use. Find cedar fence pickets here
For most vegetables and flowers, a depth of 12-18 inches is ideal. Here are some popular size options:
Small Planter Box
Dimensions: 3′ x 2′ x 18″ deep
Perfect for herbs or small flowers
Ideal for patios or small spaces
Medium Planter Box
Dimensions: 4′ x 2′ x 18″ deep
Great for mixed vegetables
Good balance of space and manageability
Location Considerations
Before building, consider these important factors:
Sunlight requirements for your plants (most vegetables need 6-8 hours)
Access to water
Level ground or a way to level your boxes
Proximity to your home for convenience
Pro Tip: Mark out the planned location with spray paint or garden stakes before building to visualize the space your planter boxes will occupy.
Cutting Your Lumber
Now that you’ve planned your planter boxes, it’s time to cut the lumber to size. For this tutorial, we’ll focus on building a medium-sized planter box (4′ x 2′ x 18″ high).
Cut List for Medium Planter Box:
6 cedar fence pickets at 48″ length (long sides)
6 cedar fence pickets at 24″ length (short sides)
4 pieces of 2×4 at 18″ length (corner supports)
2 pieces of 2×4 at 45″ length (internal braces)
“Measure twice, cut once. This old carpentry saying will save you time, materials, and frustration.”
Cutting Tips:
If using cedar fence pickets, cut off the dog-eared (angled) tops first
Use a stop block on your saw to ensure consistent lengths
Sand any rough edges after cutting
If you don’t have a saw, many home improvement stores will cut lumber for you
Assembling Your Planter Box
With all your pieces cut, it’s time to assemble your planter box. We’ll build this in stages, starting with the frame.
Step 1: Build the Long Sides
Lay three 48″ cedar pickets horizontally on a flat surface
Place two 18″ 2×4 pieces vertically at each end
Ensure everything is square using a set square
Pre-drill holes to prevent splitting
Attach the cedar pickets to the 2×4s using exterior screws
Step 2: Build the Short Sides
Repeat the same process with the 24″ cedar pickets
Ensure the height matches the long sides exactly
Step 3: Connect the Sides
Stand up the long sides and connect them with the short sides
Attach at the corners by screwing through the short sides into the ends of the 2×4 supports
Check that all corners are square
Add the internal braces by attaching the 45″ 2×4s across the width of the box, about 3″ from the top
Stability Tip: For extra stability, you can add diagonal braces in each corner or use metal brackets. This is especially important for larger planter boxes.
Finishing Your Planter Box
Now that your planter box is assembled, it’s time to finish it properly to ensure it lasts for years.
Step 1: Sanding
Sand all surfaces to remove any rough edges or splinters. Start with medium-grit sandpaper and finish with fine-grit for a smooth surface. Pay special attention to the top edges where hands might rest.
Step 2: Drainage Holes
Proper drainage is crucial for healthy plants. Drill several ½-inch holes in the bottom of your planter box, spaced about 6 inches apart. This prevents water from pooling and causing root rot.
Step 3: Apply Wood Sealer (Optional)
While cedar is naturally resistant to rot, applying a non-toxic exterior wood sealer can extend its life. Choose a product safe for vegetable gardens if you’ll be growing edibles. Find food-safe wood sealers here
Step 4: Install Landscape Fabric
Cut landscape fabric to size, allowing extra to go up the sides
Line the inside of the planter box, covering the bottom and sides
Staple the fabric to the top inside edge of the box
Cut small X shapes in the fabric over each drainage hole
Filling Your Planter Box
Properly filling your planter box is just as important as building it well. Here’s how to create the perfect growing environment for your plants.
Layer 1: Drainage Material
Start with a 2-3 inch layer of drainage material at the bottom. Options include:
Gravel or small rocks
Broken pottery pieces
Recycled plastic bottles (crushed)
Layer 2: Optional Filler Material
For deeper boxes, you can add some filler to reduce the amount of soil needed:
Fallen branches or twigs
Cardboard (will break down over time)
Leaves or yard waste
Layer 3: Quality Soil Mix
Fill the top 12 inches with a high-quality soil mix:
60% quality topsoil
30% compost
10% perlite or vermiculite for drainage
“The success of your garden is rooted in the quality of your soil. Invest in good soil, and your plants will thank you with abundant growth.”
Ready to Fill Your Planter?
Get high-quality organic potting soil and compost to give your plants the best start.
Now comes the fun part – planting your new DIY planter box! Here are some tips for successful planting.
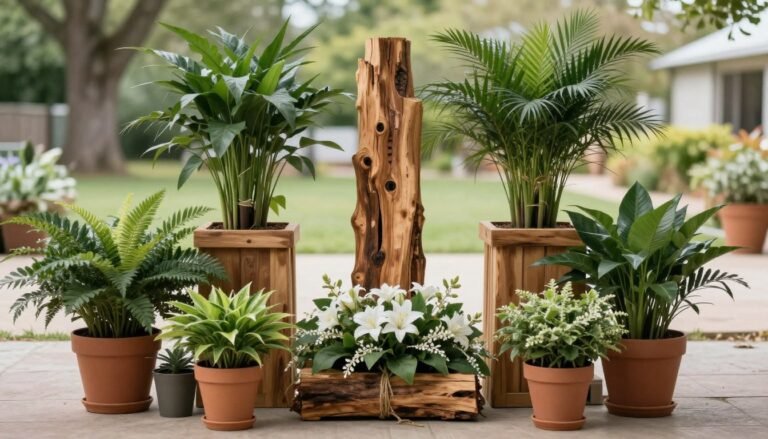
Best Plants for Planter Boxes
Vegetables
Lettuce and salad greens
Radishes
Bush tomatoes
Peppers
Herbs (basil, parsley, cilantro)
Flowers
Marigolds
Petunias
Zinnias
Pansies
Nasturtiums (bonus: edible!)
Planting Tips
Consider companion planting to maximize space and deter pests
Plant taller varieties at the north side to avoid shading smaller plants
Leave appropriate spacing between plants (check seed packets for guidance)
Water thoroughly after planting
Watering Tip: Planter boxes may dry out faster than in-ground gardens. Check soil moisture regularly, especially during hot weather.
Maintaining Your Planter Boxes
With proper care, your DIY planter boxes will provide years of gardening enjoyment. Here’s how to maintain them:
Regular Maintenance
Check moisture levels daily during hot weather
Feed plants with organic fertilizer every 4-6 weeks
Remove weeds promptly
Harvest vegetables regularly to encourage production
Seasonal Care
Spring: Add fresh compost to the top few inches of soil
Summer: Monitor water needs closely
Fall: Remove spent plants and add cover crops or mulch
Winter: In cold climates, consider adding insulation around boxes
Wood Maintenance
Check the condition of your planter boxes annually:
Inspect for any rotting wood and replace as needed
Reapply wood sealer every 2-3 years
Tighten any loose screws
Share Your DIY Planter Boxes Success!
Building your own DIY planter boxes is a rewarding project that enhances your garden while saving money. With basic tools and materials, you’ve created beautiful, functional planters that will serve you for years to come.
We’d love to see your finished planter boxes! Take photos of your creation and share them on Pinterest to inspire others. Use the hashtag #DIYPlanterBoxes to connect with fellow gardeners.
Ready to Start Your DIY Planter Box Project?
Gather your materials and transform your garden this weekend!
Your patio is more than just an extension of your home—it’s an opportunity to create a personal outdoor sanctuary. With the right outdoor patio decor, you can transform a simple concrete slab into a vibrant living space that reflects your style and enhances your lifestyle. Whether you have a sprawling backyard patio or a cozy…
Your wedding day brings together the people you love most. Your bridesmaids stand beside you through every moment. Their hairstyles should make them feel confident and beautiful while complementing your overall wedding aesthetic.This Website contains affiliate links. That means I may earn a small commission if you purchase through my links, at no extra cost…
Planning a memorial service involves creating a space that honors and celebrates the life of your loved one. The decorations you choose play a vital role in setting a comforting atmosphere while reflecting the unique personality and passions of the person being remembered. From elegant floral arrangements to personalized memory displays, thoughtful decorations can transform…
As temperatures rise, it’s time to refresh your footwear collection with the perfect summer shoes that balance style, comfort, and versatility. Whether you’re planning beach getaways, city explorations, or garden parties, the right pair of summer shoes can elevate your entire warm-weather wardrobe. In this comprehensive guide, we’ll walk you through this season’s most coveted…
Your wedding day represents one of life’s most beautiful milestones. Sharing this journey with your closest friends makes every moment even more special. The bridesmaid proposal marks the beginning of this shared adventure.This Website contains affiliate links. That means I may earn a small commission if you purchase through my links, at no extra cost…
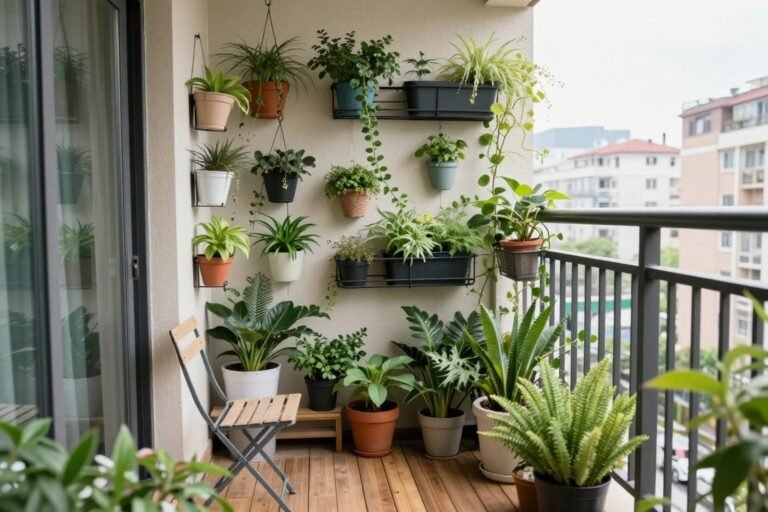
A mini balcony doesn’t have to limit your creativity or outdoor enjoyment. With thoughtful design and smart solutions, even the smallest balcony can become a stylish retreat that feels like an extension of your home. Whether you dream of a cozy reading nook, a vertical garden oasis, or a chic dining spot, these mini balcony…