The minimalist and industrial aesthetic has taken the home decor world by storm, and concrete planters stand at the forefront of this trend. These sleek, modern vessels add character to any space while showcasing your favorite plants. But have you seen the price tags on designer concrete planters? They can easily run $50-$200 each! The good news is that making your own DIY concrete planters is surprisingly simple and incredibly cost-effective.
With just a few basic materials and a weekend of mostly hands-off time, you can create custom concrete planters that perfectly match your style and space. The raw, industrial look of concrete pairs beautifully with the organic shapes of plants, creating a striking visual contrast that elevates your home or garden decor. Let’s dive into this satisfying DIY project that combines creativity with practicality!
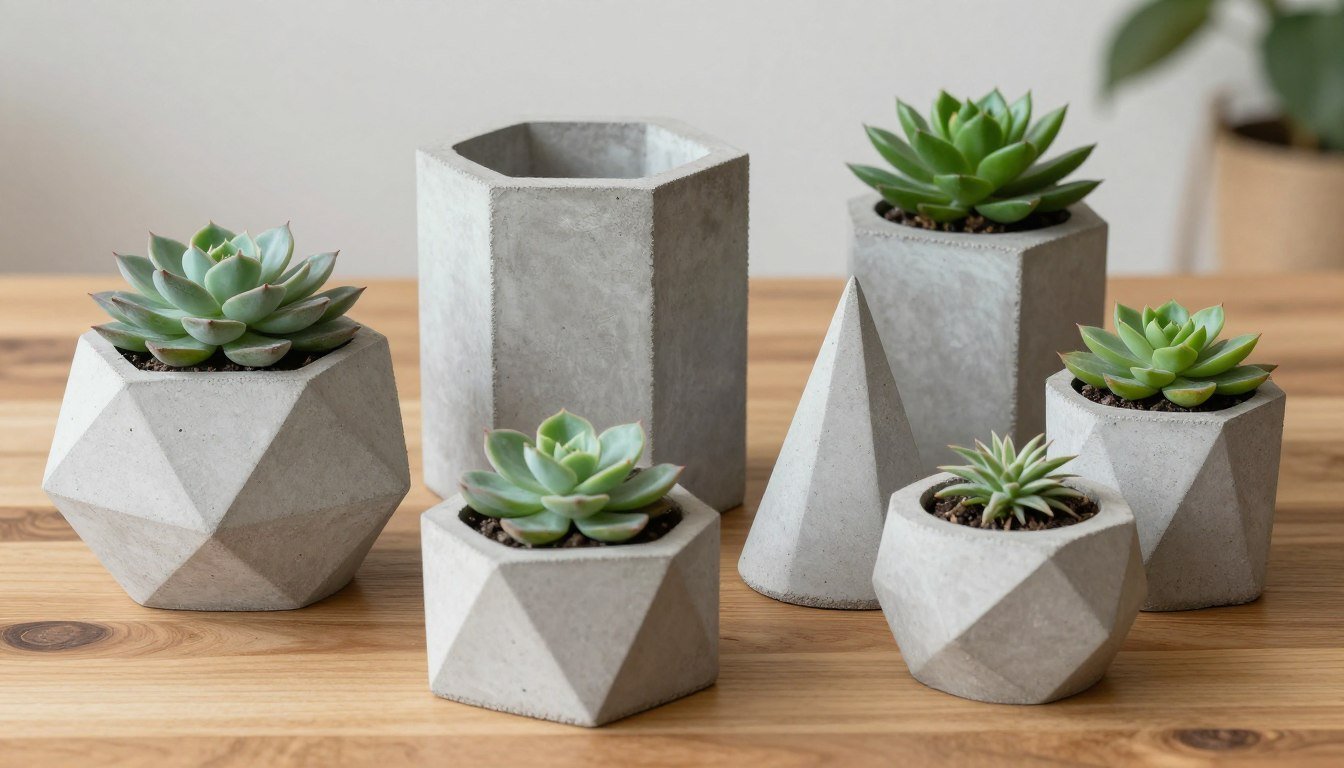
Beautiful DIY concrete planters add modern style to any space at a fraction of retail cost
Project at a Glance
Estimated Cost
$15-30 (makes multiple planters)
Time Required
2-3 days (mostly curing time)
Skill Level
Beginner to Intermediate
Project Payoff
Custom planters at 75-90% savings vs. retail
Materials & Tools
Before starting your concrete planter project, gather these essential supplies. Most items can be found at your local hardware store or ordered online. For convenience, I’ve included Amazon search links for each item.
Essential Materials
Concrete Mix
For best results, use a quick-setting concrete mix with fine aggregate. Quikrete or similar brands work well for this project.
All the materials you’ll need for your DIY concrete planter project
Pro Tip: One bag of concrete mix can make several planters, so consider making multiple sizes and shapes in a single session to maximize your materials.
Step-by-Step Guide
Part 1: Preparing Your Workspace & Molds
Proper preparation is key to successful concrete planters. Let’s set up everything correctly before mixing any concrete.
Choose a well-ventilated area with a flat, stable surface that can get a little messy. A garage, basement, or outdoor space works well.
Cover your work surface with plastic sheeting or newspaper to protect it from concrete splatter.
For each planter, select two containers: one larger (outer mold) and one smaller (inner mold). The space between them will form your planter walls.
Thoroughly coat the inside of the larger container and the outside of the smaller container with cooking spray or mold release agent. This is crucial for easy removal later!
If your containers have drainage holes, cover them with tape to prevent concrete from leaking out.
Thoroughly coat molds with release agent to ensure easy removal after curing
Part 2: Mixing the Concrete
The right concrete consistency is crucial for strong, attractive planters. Follow these steps carefully.
Put on your safety gear: dust mask, gloves, and safety glasses.
Pour the appropriate amount of concrete mix into your mixing container. For most small to medium planters, 2-3 pounds of mix is sufficient.
Gradually add water according to the package instructions, typically starting with about 1 part water to 4 parts concrete mix.
Mix thoroughly until you achieve a thick, oatmeal-like consistency. The mix should be wet enough to pour but thick enough to hold its shape.
If the mix is too dry, add small amounts of water. If too wet, add more concrete mix.
Mix to a thick, pourable consistency similar to oatmeal
Consistency Check: The perfect mix should hold its shape when scooped but still be wet enough to self-level when poured. If it’s runny like soup, it’s too wet. If it’s crumbly, it’s too dry.
Part 3: Pouring and Setting
Now comes the fun part—creating the actual planter shape!
Pour a 1-2 inch layer of concrete into the bottom of your larger container.
Gently tap the container on your work surface to remove air bubbles.
Center the smaller container on top of this base layer, pressing down slightly.
Slowly pour more concrete into the gap between the two containers, filling to about 1/2 inch from the top.
Tap the sides of the container to eliminate air bubbles and ensure the concrete settles evenly.
Add weight to the inner container (sand, rocks, or water) to prevent it from floating up.
Use a trowel to smooth the top edge for a professional finish.
Pour concrete carefully between the two containers to create the planter walls
Part 4: Curing and Demolding
Patience is key during the curing process. Rushing this step can result in cracked or broken planters.
Allow the concrete to set for 24-48 hours in a location where it won’t be disturbed.
Once the concrete feels hard and cool to the touch, carefully remove the inner container first.
If it resists, gently twist or tap it to break the seal. Don’t force it!
After removing the inner mold, flip the planter and gently remove the outer container.
Allow the planter to cure fully for an additional 3-5 days before use.
Carefully remove molds after concrete has fully set
Part 5: Sanding and Finishing
These final touches will give your planters a professional, polished look.
Inspect your planter for any rough edges or imperfections.
Use fine-grit sandpaper to smooth any rough spots, especially around the top rim.
Wipe away any concrete dust with a damp cloth.
Allow the planter to dry completely before proceeding to sealing or decorating.
Sand rough edges for a professional, finished look
Part 6: Sealing and Waterproofing
While optional, sealing your concrete planters helps prevent water damage and extends their lifespan.
Choose a concrete sealer appropriate for planters that will be exposed to moisture.
Apply the sealer according to package directions, typically with a brush or spray.
Focus on sealing the inside of the planter thoroughly to prevent water seepage.
Allow the sealer to dry completely (usually 24 hours) before adding plants.
For outdoor planters, consider applying a second coat for extra protection.
Seal your planter to protect it from moisture and extend its lifespan
Ready to start your project?
Get all the supplies you need with these convenient links:
Get creative with colors, textures, and embedded decorations for unique concrete planters
Shape Ideas: Beyond the basic cylindrical shape, try square molds, geometric forms, or even repurposed items like plastic bottles cut in half for unique planter shapes.
Care for Your Concrete Planter
Proper care will keep your DIY concrete planters looking great for years to come.
Drainage Solutions
Concrete planters need proper drainage to prevent root rot. Either:
Drill a drainage hole in the bottom using a masonry bit
Place a layer of pebbles at the bottom before adding soil
Use a plastic nursery pot inside your concrete planter
Maintenance Tips
Clean with mild soap and water if dirt accumulates
Reapply sealer annually for outdoor planters
Avoid harsh chemicals that could damage the concrete
Place felt pads underneath to protect surfaces
Proper drainage is essential for plant health in concrete planters
Frequently Asked Questions
Is concrete safe for plants?
Fresh concrete is alkaline and can affect soil pH. To make your planters plant-safe:Let new planters cure fully (7-10 days)Soak the planter in water for 24 hours, then drainApply a concrete sealer to the insideAlternatively, use a plastic liner or nursery pot inside your concrete planter
Why did my concrete planter crack?
Cracking usually occurs due to:Too much water in the mixRemoving from molds too earlyDrying too quickly in hot weatherWalls that are too thinFor best results, use the proper water-to-concrete ratio, allow full curing time, and make walls at least 1-inch thick.
How can I make my concrete planters lighter?
Standard concrete planters can be heavy, especially in larger sizes. To reduce weight:Use a specialized lightweight concrete mixAdd perlite or vermiculite to your concrete mixCreate thinner walls (but not less than 3/4 inch)Fill the bottom third with styrofoam before adding soil
Ready to Create Your Own Concrete Planters?
DIY concrete planters are the perfect weekend project—affordable, customizable, and incredibly satisfying. With just a few simple materials and some patience during the curing process, you can create modern, stylish planters that would cost a fortune at high-end home stores.
The industrial charm of concrete pairs beautifully with the organic shapes of plants, creating a striking visual contrast in any space. Plus, there’s something special about displaying your favorite plants in containers you crafted with your own hands.
We’d love to see your creations! Tag your photos with #DIYConcretePlanters on social media to share your unique designs with fellow DIY enthusiasts.
Your handcrafted concrete planters will add modern style to any space
Ready to start your DIY concrete planter project?
Get all the supplies you need with one convenient link:
Receiving a wedding invitation brings both excitement and that inevitable question: “What should I wear?” Finding the perfect wedding guest dress means balancing style, appropriateness, and personal comfort. Whether you’re attending a black-tie affair, a garden celebration, or a beachside ceremony, your outfit should complement the occasion while expressing your personal style. This comprehensive guide…
Your wedding reception tables deserve centerpieces that capture your unique vision and create an unforgettable atmosphere. The right table arrangements transform ordinary dinner settings into extraordinary celebrations that reflect your personal style and love story. Whether you dream of romantic blooms cascading across your tables or prefer clean, modern designs with minimal elements, the possibilities…
Babydoll dress nightwear represents the perfect marriage of comfort and elegance. These flirty, feminine pieces have evolved from their vintage origins to become a modern sleepwear staple. Whether you’re seeking something special for a romantic evening or comfortable yet stylish everyday sleepwear, babydoll nightwear offers versatility that few other styles can match. In this comprehensive…
Your backyard holds incredible potential to become the ultimate retreat right outside your door. Whether you have a sprawling yard or a compact space, the right design choices can turn any outdoor area into a stunning oasis. This comprehensive guide brings together innovative backyard ideas that blend style with functionality. You will discover practical solutions…
Few footwear brands have achieved the iconic status of Converse shoes. From basketball courts to rock concerts, these canvas classics have walked through decades of fashion evolution while maintaining their distinctive charm. Whether you’re a longtime fan or considering your first pair, this guide will walk you through everything you need to know about these…
Your bedroom deserves lighting that matches your lifestyle. Whether you need bright light for reading or soft illumination for relaxation, the right fixtures make all the difference. This guide explores creative solutions for every style and budget. Great bedroom lighting combines function with beauty. It sets the mood for sleep while providing practical task illumination….