The Ultimate Guide to DIY Planters Outdoor: Transform Your Garden with Creative Containers
There’s something magical about stepping into your outdoor space and seeing it filled with greenery and blooms spilling from planters you’ve crafted with your own hands. DIY planters outdoor projects not only save you money but also allow you to express your creativity and perfectly match your garden’s aesthetic. Whether you have a sprawling backyard, a modest patio, or just a tiny balcony, handmade planters can transform any outdoor area into a personalized oasis that reflects your style and brings you joy every time you see it.
In this comprehensive guide, we’ll explore over 10 inspiring DIY outdoor planter ideas that range from simple afternoon projects to more involved weekend endeavors. We’ll cover everything from repurposed materials to built-from-scratch designs, providing you with all the information you need to create beautiful, durable containers that will showcase your plants and enhance your outdoor living space. Get ready to roll up your sleeves and bring some handcrafted charm to your garden!
Essential Materials for DIY Outdoor Planters
Before diving into specific projects, let’s look at the materials that work best for outdoor planters. Your choice of materials will affect not only the appearance of your planters but also their durability, weight, and suitability for different plants.
Wood
Cedar, redwood, and cypress are naturally rot-resistant woods ideal for outdoor use. Pine and other softer woods can work if properly sealed with exterior wood sealer. Wood offers a warm, natural look that complements any garden style.
Metal
Galvanized steel, copper, and aluminum are excellent choices for modern or industrial-style planters. Metal containers heat up quickly, so they’re best for heat-loving plants or when lined with insulation. Look for galvanized metal containers as a starting point.
Concrete
Durable and weather-resistant, concrete planters add a contemporary feel to your space. They can be molded into virtually any shape using concrete mix for planters and simple forms. Concrete is heavy, making it ideal for windy locations.
Upcycled Items
Old furniture, tires, pallets, and even kitchen items can be repurposed into unique planters. Upcycling is eco-friendly and often budget-friendly too. Just ensure any container has proper drainage.
Related Posts:


Terra Cotta
Classic and breathable, terra cotta pots can be decorated and customized. They’re porous, which helps prevent overwatering but may dry out quickly in hot weather. Find terra cotta pots in various sizes to start.
Plastic
Lightweight and inexpensive, plastic containers can be transformed with paint and decorative elements. They’re ideal for renters or those who need to move planters frequently. Look for plastic planter containers designed for outdoor use.
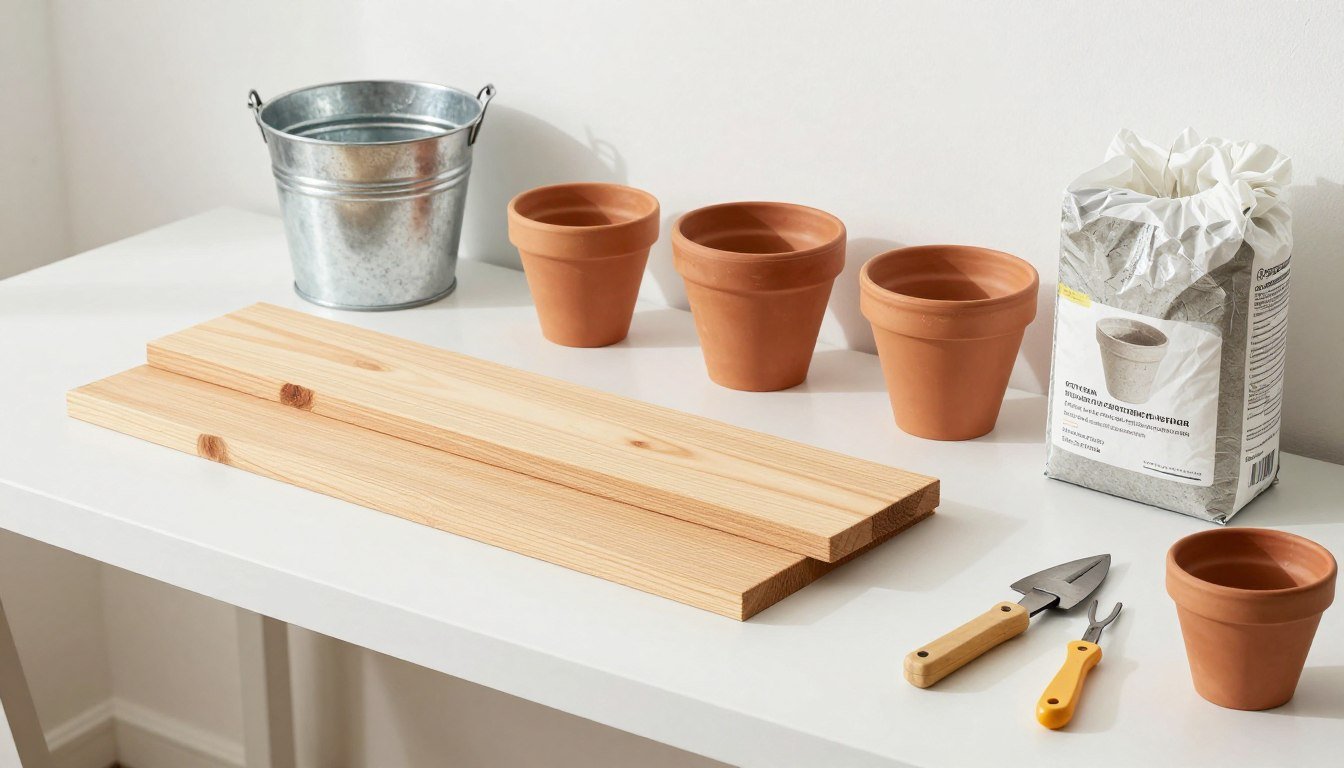
Essential Tools for DIY Planter Projects
Having the right tools on hand will make your DIY planter projects much easier. Here are the basics you’ll need for most of the projects in this guide:

10+ Inspiring DIY Outdoor Planter Ideas
Now that we’ve covered the basics, let’s dive into some creative DIY outdoor planter ideas that will transform your garden, patio, or balcony. Each project includes materials needed, basic steps, and tips for success.

1. Rustic Wood Crate Planters

Materials Needed:
Basic Steps:
Pro Tip: For added height and visual interest, stack multiple crates of different sizes or mount them on a wall using sturdy brackets. These rustic planters look stunning with cascading flowers like petunias, sweet potato vine, or trailing herbs.
2. Concrete Bowl Planters

Materials Needed:
Basic Steps:
Pro Tip: Add concrete pigment to the mix for colored planters, or paint patterns on the finished product with exterior acrylic paint. These modern planters are perfect for succulents, cacti, or small ornamental grasses.
3. Tiered Herb Garden Planter

Materials Needed:
Basic Steps:
Pro Tip: Place sun-loving herbs like basil and rosemary on the top tier, and shade-tolerant herbs like mint and parsley on the lower tiers. Add small plant markers (herb plant markers) to identify each herb. This space-saving design is perfect for patios and small gardens.
4. Upcycled Rain Boot Planters

Materials Needed:
Basic Steps:
Pro Tip: Children’s colorful rain boots work especially well for this whimsical project. For a coordinated look, choose flowers that complement the boot colors. These unique planters are perfect for adding vertical interest to fences, sheds, or blank walls.
5. Pallet Wood Vertical Planter

Materials Needed:
Basic Steps:
Pro Tip: Choose a variety of plants with similar light and water needs. Succulents work well in the top rows where soil dries quickly, while moisture-loving plants do better in lower pockets. Secure the pallet to your wall or fence with heavy-duty brackets for safety.
6. Galvanized Metal Tub Planters

Materials Needed:
Basic Steps:
Pro Tip: Galvanized containers can heat up quickly in direct sun, which may stress some plants. Consider placing these planters in partial shade or painting the outside with light colors to reflect heat. These planters work beautifully for cottage garden flowers, herbs, or even vegetable gardens.
7. Cinder Block Modern Planter Wall

Materials Needed:
Basic Steps:
Pro Tip: Create an eye-catching geometric pattern by alternating block orientations and colors. For a cohesive look, choose a color palette with 3-4 complementary colors. This modern planter wall works well as a garden divider, privacy screen, or decorative element in contemporary landscapes.
8. Wine Barrel Planter

Materials Needed:
Basic Steps:
Pro Tip: Wine barrels are large enough to create stunning mixed plantings. Try a small ornamental tree or shrub as a centerpiece surrounded by perennials and trailing plants for a lush, professional look. These substantial planters make excellent focal points on patios or at entryways.
9. Hanging Basket Planters with Macramé

Materials Needed:
Basic Steps:
Pro Tip: Vary the lengths of your hangers to create a dynamic vertical garden. Choose outdoor-rated macramé cord that can withstand moisture and UV exposure. These bohemian-style planters are perfect for trailing plants and add a soft, organic element to outdoor spaces.
10. Tiered Terracotta Pot Tower

Materials Needed:
Basic Steps:
Pro Tip: Choose plants with similar water needs for each tier. This space-saving design is perfect for herbs, strawberries, or cascading flowers. To prevent the tower from becoming top-heavy, use lightweight potting mix and place the structure in a sheltered location protected from strong winds.
Pro Tips for Successful DIY Outdoor Planters
No matter which planter design you choose, these universal tips will help ensure your DIY planters last longer and your plants thrive:

Drainage Is Critical
Every planter needs adequate drainage holes to prevent root rot. For containers without built-in drainage, drill several holes in the bottom and add a layer of gravel or broken pottery pieces before adding soil. This prevents soil from washing out while allowing excess water to escape.
Choose the Right Soil
Regular garden soil is too heavy for containers. Use a high-quality container potting mix that’s lightweight and designed to retain moisture while providing good drainage. For succulents and cacti, use a specialized succulent potting mix.
Weather Protection
Apply appropriate sealants to wooden planters to extend their life. Use exterior wood sealer for general planters or food-safe finishes for herb and vegetable planters. Metal planters may need rust-resistant paint to prevent corrosion.
Consider Weight
Large planters filled with soil and plants can be extremely heavy. If your planter will sit on a deck, balcony, or rooftop, consider using lightweight materials or adding a false bottom. Fill the bottom third of large planters with biodegradable packing peanuts or empty plastic bottles before adding soil.
Plant Compatibility
Group plants with similar light, water, and soil needs in the same container. For mixed plantings, follow the “thriller, filler, spiller” approach: a tall focal plant (thriller), medium-sized plants to fill the middle (filler), and trailing plants to cascade over the edges (spiller).
Seasonal Considerations
In cold climates, terracotta and concrete planters may crack if left outside during freeze-thaw cycles. Either choose frost-resistant containers or plan to move vulnerable planters to a protected location for winter. Alternatively, empty and clean them at the end of the growing season.
Where to Find Materials for Your DIY Planters
You don’t need to spend a fortune on materials for your DIY planter projects. Here are some great sources for affordable supplies:

Hardware Stores
Your local hardware store or home improvement center is a one-stop shop for lumber, tools, concrete mix, and other building supplies. Look for the garden center section for potting soil and plants. Many stores offer wood cutting services if you don’t have the tools at home.
Thrift Stores & Yard Sales
These are treasure troves for unique containers that can be repurposed into planters. Look for old buckets, baskets, toolboxes, drawers, and other interesting vessels. With a little creativity, almost anything that can hold soil can become a planter.
Online Marketplaces
Sites like Amazon offer a wide range of supplies for DIY projects. From potting soil and garden tools to decorative stones and plant markers, you can find everything you need with convenient delivery.
Reclamation Yards
These specialty yards sell salvaged building materials, often at a fraction of the cost of new items. Look for reclaimed wood, old bricks, architectural salvage, and other unique materials that can add character to your DIY planters.
Your Own Home
Before buying new materials, look around your home for items you can repurpose. Old furniture, kitchen containers, toys, and even worn-out footwear can be transformed into creative planters with a little imagination.
Garden Centers
While you’re picking up plants for your DIY planters, check out the garden center for inspiration and supplies. Many offer decorative stones, plant supports, and other accessories that can enhance your planter projects.
Finishing Touches for Your DIY Outdoor Planters
The small details can make a big difference in the final look of your DIY planters. Here are some ideas to add that professional finishing touch:

Decorative Mulch
Top your soil with decorative mulch like colored stones, glass beads, or moss. This not only looks attractive but also helps retain moisture and suppress weeds. Different mulch materials can complement your planter style—try sea glass for coastal themes or river rocks for Asian-inspired designs.
Plant Labels
For herb gardens or mixed plantings, add charming decorative plant labels. You can purchase ready-made labels or create your own from popsicle sticks, small stones, or wine corks. Use a permanent marker or paint pen to write plant names.
Solar Lights
Add small solar lights to your planters to create a magical effect after dark. Choose stake lights that can be pushed into the soil or string lights that can be wrapped around taller plants or trellises.
Miniature Ornaments
Small garden ornaments like tiny benches, animals, or fairy garden accessories can add whimsy and personality to your planters. These are especially charming in children’s garden areas or container fairy gardens.
Trellises and Supports
For climbing plants, add decorative trellises or plant supports. These can be purchased or DIYed from materials like bamboo stakes, willow branches, or copper pipe. They add vertical interest while supporting your plants.
Weather-Resistant Paint
Add personality with weather-resistant paint. Create patterns, stencil designs, or add house numbers to your planters. For a cohesive look, coordinate colors with your home’s exterior or garden furniture.
Start Creating Your DIY Outdoor Planters Today
DIY outdoor planters are more than just containers for plants—they’re an expression of your creativity and a way to personalize your outdoor space. Whether you’re working with scrap wood, upcycled items, or purpose-bought materials, the satisfaction of creating something beautiful with your own hands is unmatched.
Remember that your planters don’t need to be perfect to be beautiful. Each unique characteristic adds charm and tells the story of your creative process. Start with a simple project and, as your confidence grows, challenge yourself with more complex designs.
Ready to Transform Your Outdoor Space?
Gather your materials, set aside some time this weekend, and bring one of these DIY planter ideas to life. Your garden, patio, or balcony will thank you with beautiful blooms and greenery all season long!
We’d love to see what you create! Share your DIY planter projects and tag them with #DIYPlantersOutdoor to inspire others with your creativity. Happy building and happy planting!